
make money with food photography

If you have always dreamed of being able to stay home with your kids and still help your family, YOU CAN as a food photographer for bloggers.
Free video training!


Feb 5, 2025
2 Lighting Tips for Food Photography
Quick disclosure: This page contains affiliate links which means we may receive a commission when you use our links.
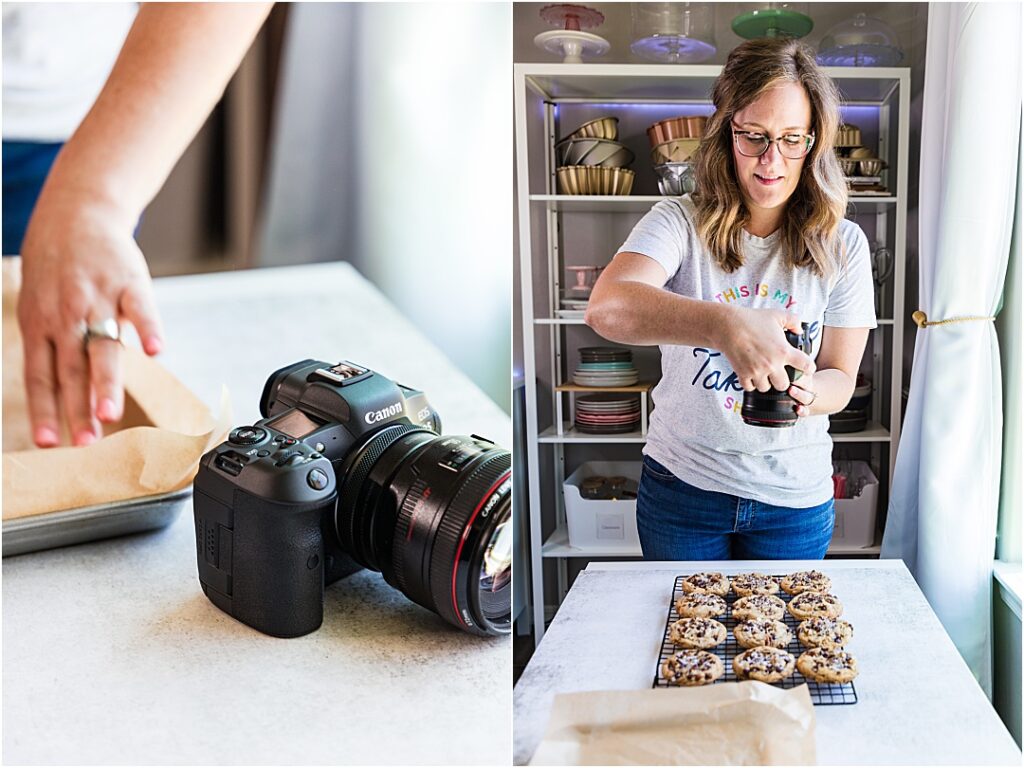
Did you know you don’t need the most expensive camera or the best gear to take incredible photos? All you need are two must-use food photography lighting tips to get the best results every time.
We can show you two photos that look almost exactly the same (you wouldn’t be able to tell the difference), yet the difference in the gear cost is nearly $2,500! That’s a ton of money saved just by knowing and using our two tips.
So, what’s the secret?
Taking Food Photography Photos That Require Less Editing
Our Pretty Focused students always ask if they need to buy the latest camera and the best gear. After all, you get what you pay for, right?
In some cases, yes. Newer and higher-quality cameras are great at automatically providing many features that make your job easier. But you don’t need the best camera to get the same results. We would argue that you can take bad photos with a good camera just as often as you can take great pictures with a sub-par camera.
Food photography is all about arousing people’s appetites. Every photo you take should highlight the freshness and deliciousness of the food. It should focus on texture and other delicate details—whether the food is soft, crisp, delicate, oily, fluffy, etc. This means getting into the macros to highlight the food as it requires.
The key: lighting and white balance. You don’t need $2500 worth of camera equipment to take exceptional photos. You just need to know what you’re doing.
With the correct type of lighting and a well-determined white balance, you can take amazing photos and cut down on your post-processing work. That means more food photography in less time and with less stress—a win all around.
So, let’s talk about our food photography lighting tips and setting a custom white balance. These tips will be game-changers for your business.
Food Photography Lighting Tips #1: Natural VS Artificial Light
Every professional (and even amateur) photographer knows that lighting is critical to good photography. You might as well toss any photo with lousy lighting into the trash. It takes a monumental amount of editing to fix (if it can even be fixed), and it just doesn’t look great.
The good news is that good lighting isn’t as hard as you think. There are always two options: natural light and artificial light. One is not really better than the other as long as you know what you are doing and how to make the most of what you have. Here’s what that can look like.
Natural Lighting
When possible, natural light is always the best and easiest to use. It looks great and requires less equipment to get right. All you need is a south-facing window in a sunny location and bada-bing-bada-boom. You’ve got all the light you could ever want! The key is just to make sure the light isn’t too harsh.
So, how do you use natural light effectively in your food photography?
- Use a Pop-Up Reflector: A pop-up reflector opposite your sunny window will help you bounce the natural light to reduce shadows and ensure everything is well-lit.
- Set up a Diffuser: If you have too much harsh light, set up a diffuser over the window to soften the direct light and create a better ambiance.
The most crucial food photography lighting tip is to end up with consistent soft light without shadows or over-exposed areas. You want a little box of perfect lighting for all of your food.
Artificial Lighting
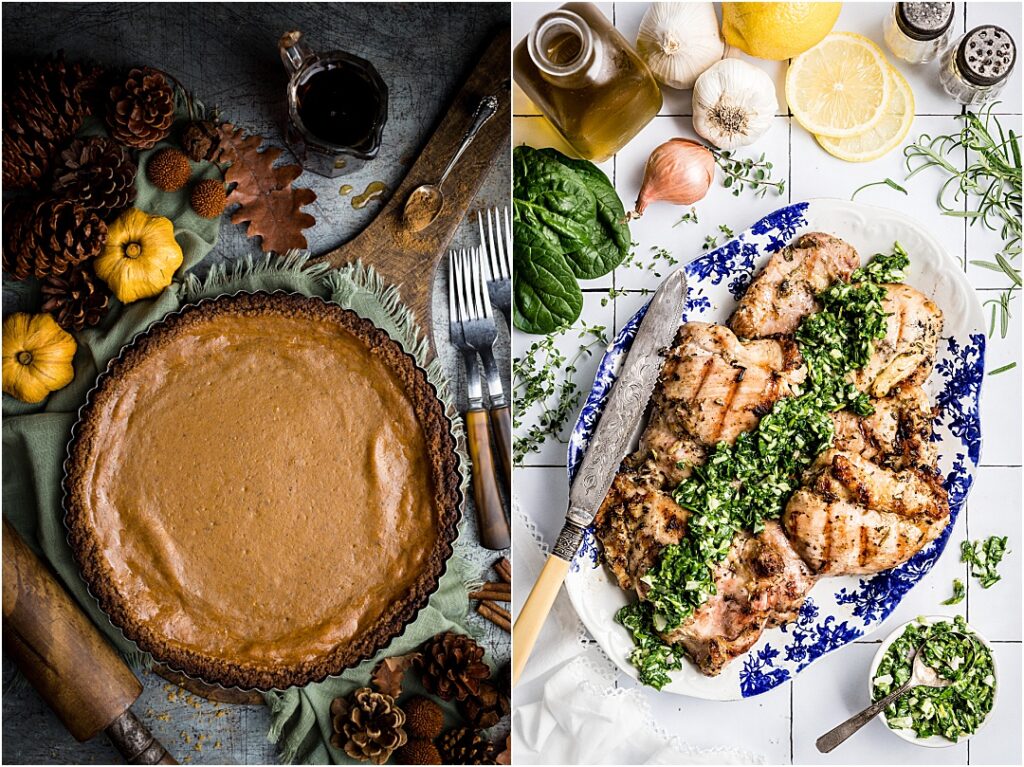
(Photos using continuous artificial light by food photographer Rhadonda Sedgwick)
Artificial lighting is a valid setup if you don’t have direct light. The key is to choose the proper lighting for the type of food you’re shooting and set the mood you want. In most cases, you’ll choose between side lighting (similar to the natural light setup above) and backlighting.
The end goal is soft lighting with gentle shadows and the correct brightness.
Backlighting
Backlighting is ideal for emphasizing shiny food. All you do is place the softbox behind the food and higher up so it can angle downwards slightly. Then, use a white or silver reflector so the back of your scene doesn’t become overexposed or blown out. Place the reflector at the front of the set and angle it towards the front of your food scene so the light bounces directly onto the food.
Side Lighting
Like natural lighting, side lighting is a great all-rounder and easy to set up. Place your softbox beside the food at a high angle, just as if you had the sun coming in through a window. The angle you chose will impact the shadows, so be prepared to change it depending on where you are shooting from—a higher angle for overhead shots and lower for a more straight-on shot to more length in your shadow. Again set up your reflector opposite the light to decrease the shadows and create a softer look.
Nailing both these natural and artificial food photography lighting tips will ensure you always take photos that turn out amazing!
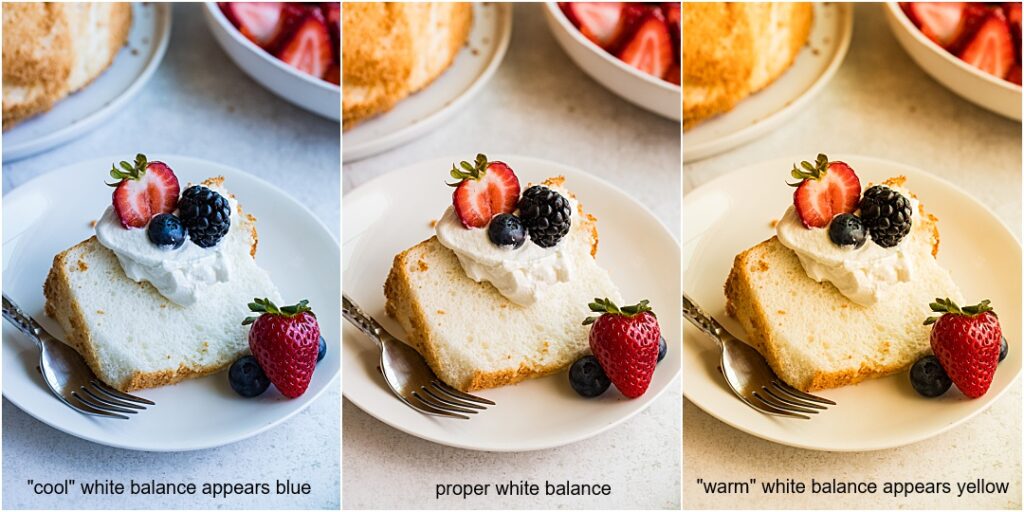
Food Photography Lighting Tips #2: Set a Custom White Balance
A lot of newer cameras have a really great auto white balance. So, many of us shoot in Auto White Balance (AWB) mode and then decide to “fix it all later.” And while it can be an easy fix, it also means you end up wasting a lot of time in editing and post-processing when you don’t need to. And if you are shooting on an older camera model (or in a camera with a crop sensor), they tend to struggle with white balance, which means even more editing is required.
That’s why it’s essential that you know how to set a custom white balance. It can make or break your food photography and greatly influence your workflow (for good or ill). And one of the best tools for setting a custom white balance is an ExpoDisc.
Using an ExpoDisc
The ExpoDisc is a tool that reads all of the light that hits your multi-dimensional subject (the food). This results in an extremely accurate reading of what your white balance should be. And it’s so simple to use.
- Buy an ExpoDisc that is large enough to fully cover your lens (larger is better than smaller).
- Set your camera to the proper exposure.
- Cover your camera lens with the plain white side of the ExpoDisc and snap it into place.
- Aim your camera towards your subject and take a sample shot through the ExpoDisc.
- If your shutter won’t release, put it in Manual Focus for this shot.
- Now, simply follow your camera’s instructions for setting the custom white balance on the menu.
- Start taking photos!
When you use an ExpoDisc correctly, you will always take pictures with colors that are true to life (instead of a blue overtone). Even indoors and with artificial lighting, you’ll have nice, bright, colorful food photos that any blogger would be happy to purchase.
Watch how I use it here:
Learn How to Stand Out as a Food Photographer with Pretty Focused
At the end of the day, no matter what equipment you have or what situation you find yourself in, with the right food photography lighting tips you can take exceptional photos. All you need is experience and practice, practice, and practice.
The good news is that you don’t have to do it alone. That’s why Pretty Focused exists. Our course will not only walk you through the basics of food photography with camera foundations 101, but you’ll also exactly how to launch a successful food photography business. And every step of the way you will have coaches and fellow students to help you out.
“Pretty Focused graduates learn to create and photograph recipes beautifully. They are professionals! They work hard to understand my requirements and create amazing photographs that I use to build my business.” — Holly, “My Plant-Based Familiy”
So, if you’re ready to get started, sign up today!

Pretty Focused Founder | I’m a wife, educator, photographer and homeschool mom. I created my own dream job working from home and now teach others how to turn their passions into creative businesses.


PRIVACY / disclaimer / accessibility / Code of conduct / Earnings Disclaimer / Be an Affiliate
melodee lynn photography llc - Copyright 2026
www.PRETTYFOCUSED.COM / PSALM 90:17
melodee lynn photography llc
Copyright 2026
www.PRETTYFOCUSED.COM
PRIVACY / disclaimer / accessibility Code of conduct / Earnings Disclaimer
Be an Affiliate / PSALM 90:17